
SPC flooring has rapidly gained popularity for its incredible durability, water resistance, and realistic wood-like appearance. As homeowners and renovation enthusiasts continue seeking stylish, budget-friendly alternatives to hardwood and tiles, SPC flooring has become a go-to option.
One of the most appealing features? You can install it yourself.
Whether you’re a first-time DIYer or looking to elevate your home improvement skills, this step-by-step guide will show you how to install SPC flooring like a seasoned pro.
What Makes SPC Flooring Ideal for DIY Installation?
SPC flooring combines natural limestone powder, polyvinyl chloride, and stabilizers to form a rigid, highly durable core. It’s designed with a click-lock system, which means planks snap together easily—no nails or glue required. This makes installation cleaner, faster, and far more approachable for non-professionals.
Additional perks include:
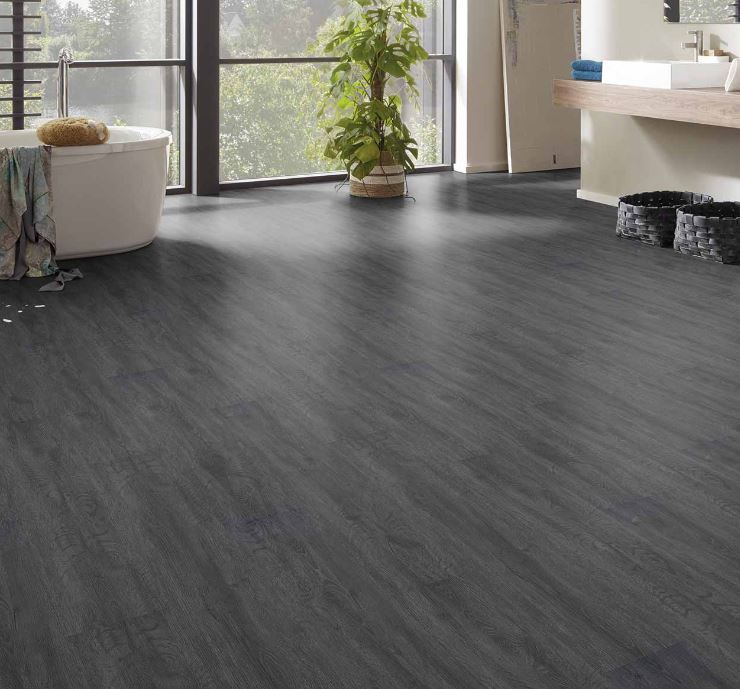
- Water resistance: Perfect for kitchens, bathrooms, and basements.
- Scratch resistance: Great for homes with kids and pets.
- Acoustic underlayment: Many SPC planks come with pre-attached pads, minimizing sound and eliminating the need for a separate underlayment.
What You’ll Need: Tools and Materials Checklist
Before diving into the installation process, gather the following tools:
Tools:
- Utility knife or vinyl plank cutter
- Tape measure
- Spacers (for expansion gaps)
- Rubber mallet
- Tapping block
- Level
- Straight edge or T-square
- Pencil or chalk
- Vacuum or broom
Materials:
- SPC flooring planks
- Transition strips (if needed)
- Underlayment (if not pre-attached)
- Moisture barrier (for concrete subfloors)
Prepare the Subfloor
A flawless installation starts with a clean, level surface.
- Remove any existing flooring, unless it’s flat and suitable as a base (like ceramic tiles).
- Check for levelness using a long level or straight edge. Variations greater than 3mm over 1 meter must be addressed. Use a self-leveling compound if needed.
- Clean the subfloor thoroughly, removing debris, dust, or grease.
- If you’re working over concrete, install a moisture barrier to prevent long-term damage.
Acclimate Your Flooring
SPC is more dimensionally stable than laminate or hardwood, but a short acclimation period is still recommended.
- Let the unopened boxes sit in the room for 24–48 hours. This allows the flooring to adjust to the room’s temperature and humidity.
Plan Your Layout
- Decide which direction you want the planks to run. Running them parallel to the longest wall generally looks more spacious and natural.
- Measure the room and calculate how many full planks will fit across the width. This helps ensure you don’t end up with a super-narrow plank at the end.
- If necessary, cut the first-row planks lengthwise to balance both sides of the room.
Start Laying the First Row
- Begin at one corner of the room, placing spacers between the planks and the wall to maintain a 6–10mm expansion gap.
- Lay the first plank with the tongue side facing the wall.
- Connect the next plank by inserting the short end into the previous plank and snapping it down. Use a rubber mallet and tapping block to ensure a tight fit.
Continue with the Next Rows
- Start the second row with the cut-off piece from the previous row, if it’s at least 8 inches long. This helps stagger the seams and maintain a natural look.
- Angle the long edge of the plank into the previous row and click into place. Tap the end joint to lock.
- Repeat this process, working your way across the room. Use the utility knife or vinyl cutter to trim planks at the ends of rows.
Cut Around Obstacles
- Use a jigsaw or multi-tool for cutting around door frames, vents, or corners.
- For door frames, undercut the trim so the planks can slide underneath for a clean finish.
- Remember to maintain expansion gaps around all fixed objects.
Install Finishing Touches
- Remove spacers once the floor is fully installed.
- Install baseboards or quarter-round molding to cover the expansion gaps.
- Use transition strips where the SPC flooring meets other flooring types (like carpet or tile).
Pro Tips for Flawless Results
- Check every plank before installation for defects or damage.
- Mix planks from different boxes to blend variations in color and texture.
- Use a chalk line to keep rows perfectly straight in large or irregular rooms.
- Don’t install cabinets or heavy appliances directly on SPC flooring—they can restrict expansion.
Final Thoughts
Installing SPC flooring dubai is a manageable project for most DIYers, and the results can be stunning. With the right tools, a clear plan, and some patience, you can transform a space without hiring a professional—and gain the satisfaction of having done it yourself.
Whether you’re upgrading a living room, bathroom, or entire home, SPC flooring is a modern, practical solution. Follow this guide, and you’ll be laying floors like a pro in no time.